LGBTQ+ SAFETY PIN TUTORIAL
....pssst... hey you- yeah, you over there! Do you want to learn how to make SUPER EASY lgbtq+ pride safety pins?? Or just fun and colourful beaded safety pins?
Well, you've come to the right place!
You're going to need:
- small beads of various colours (I used size 6 seed beads)
- 2 small pliars, ideally 1 round nosed pliar and 1 square nosed pliar
- safety pins (@ the very least 1)
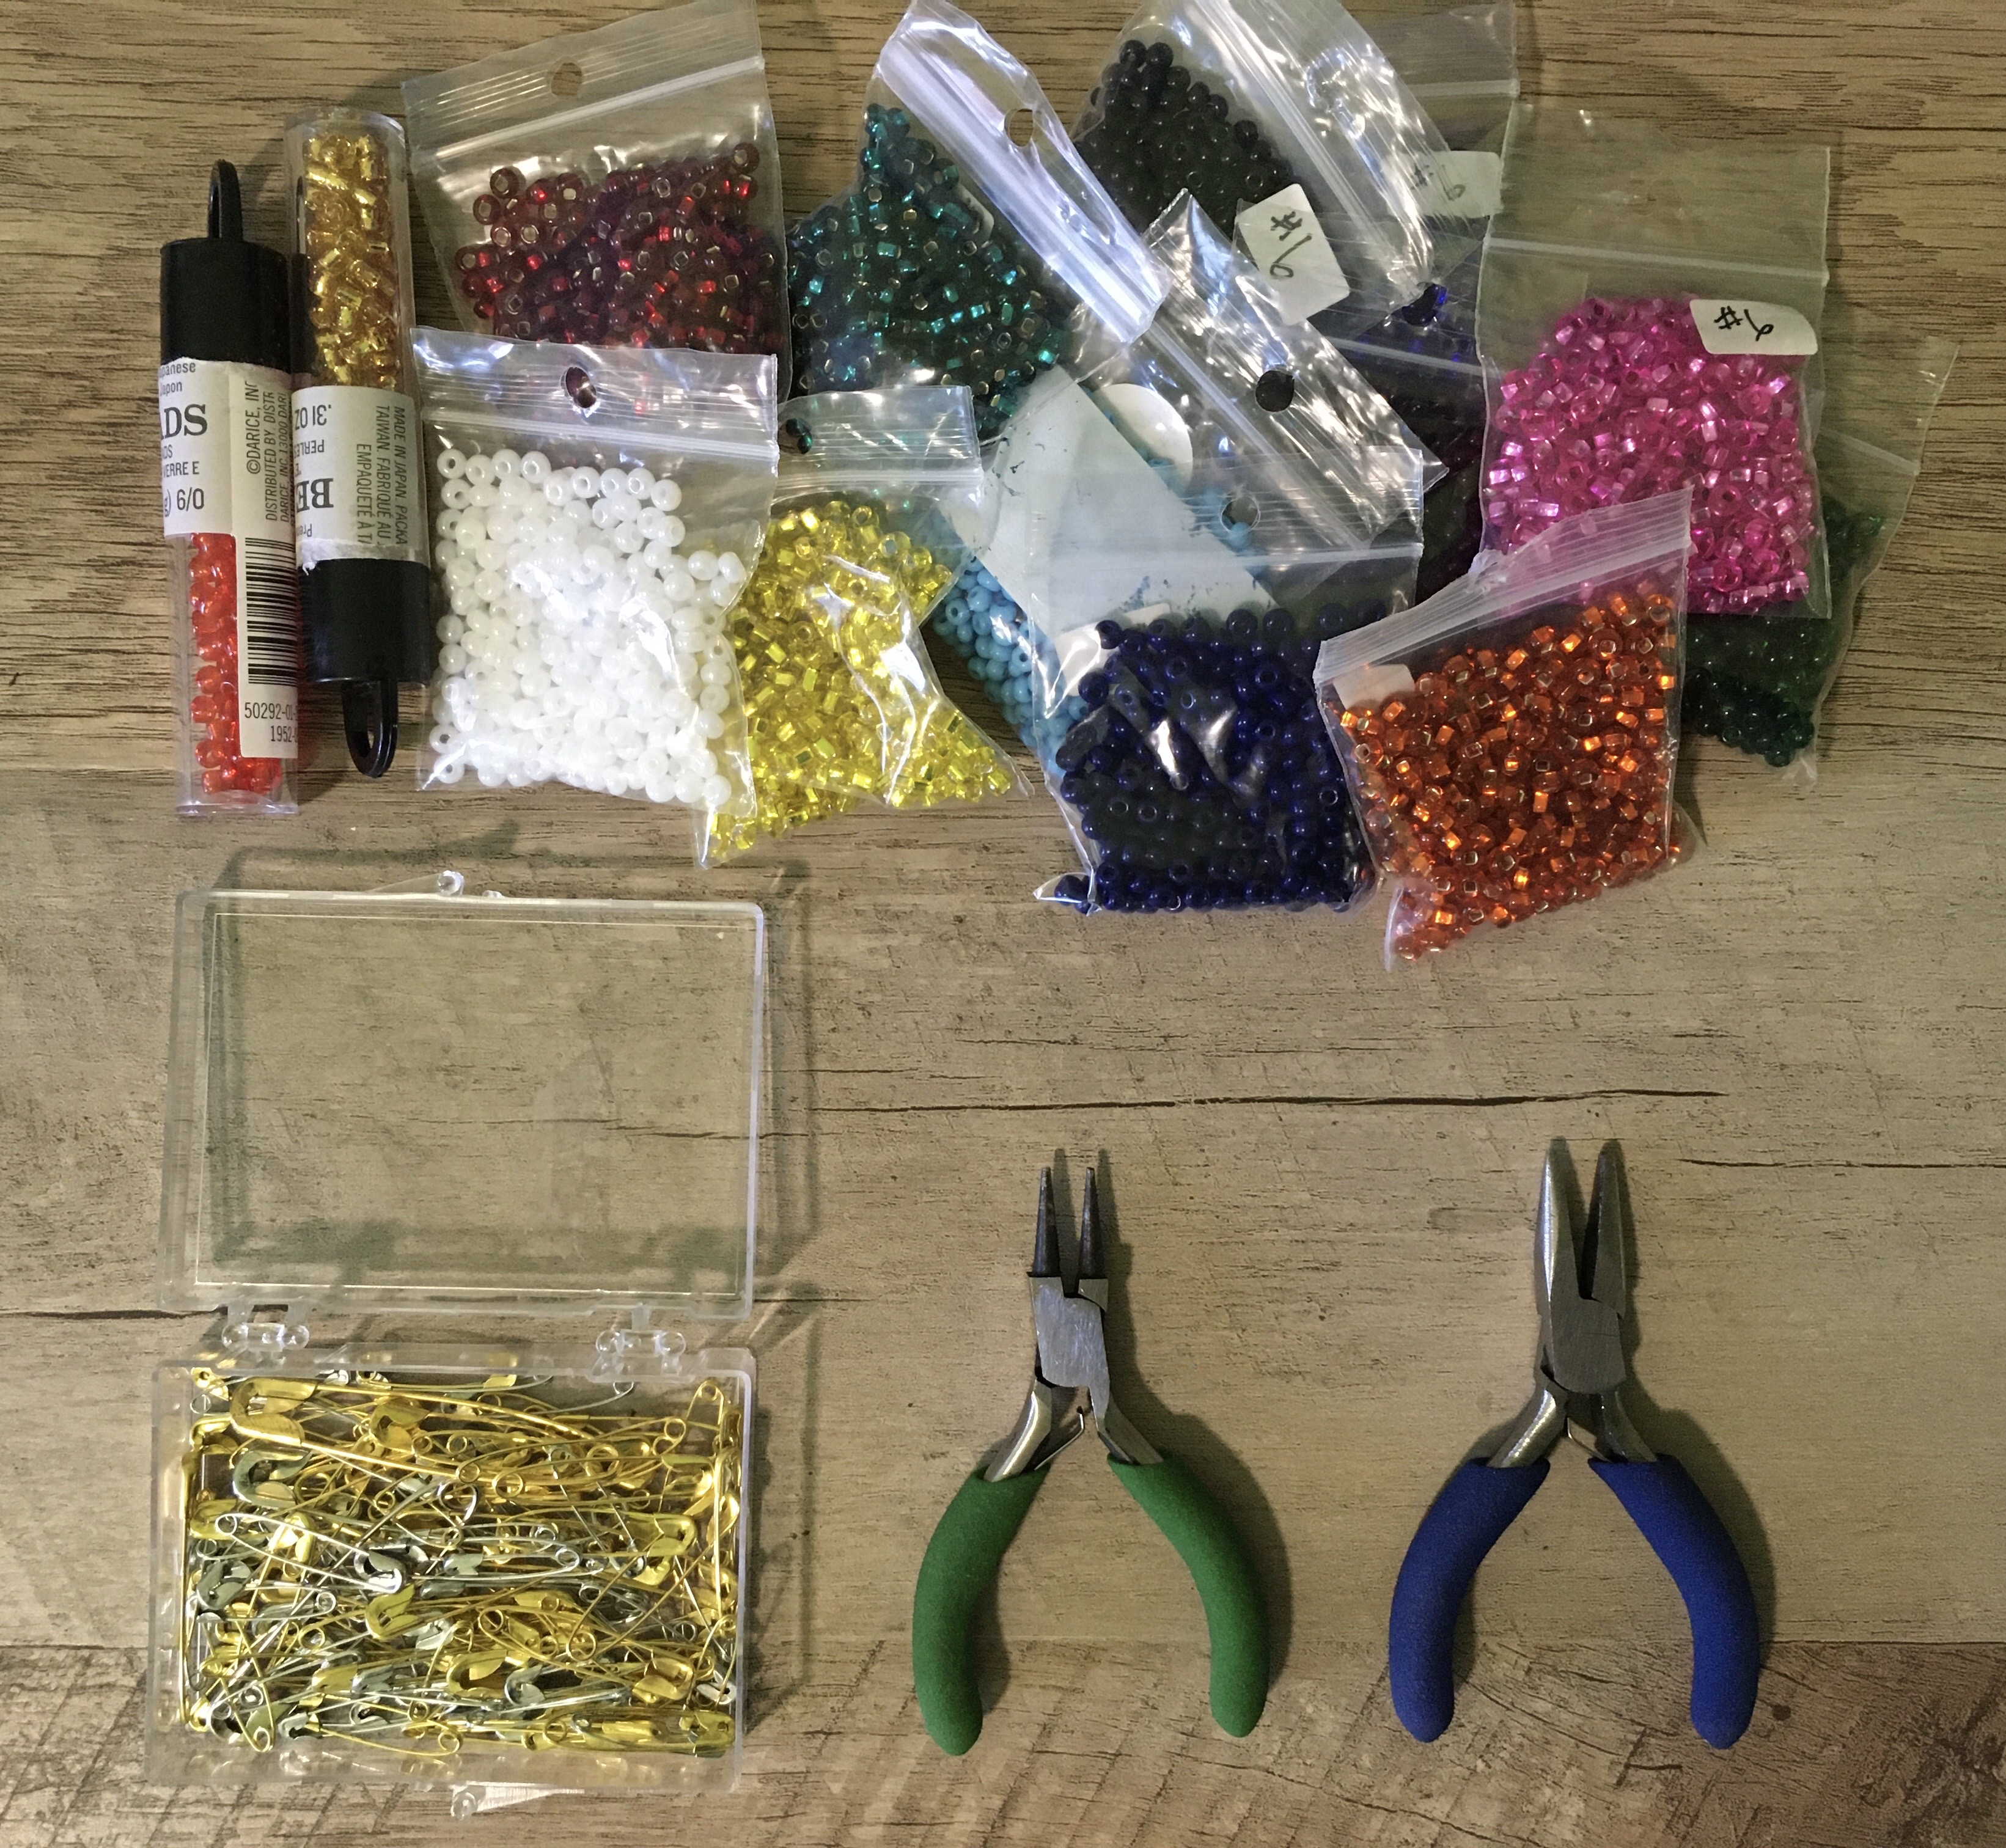
Here are my supplies. You do not need this many bead colours!!
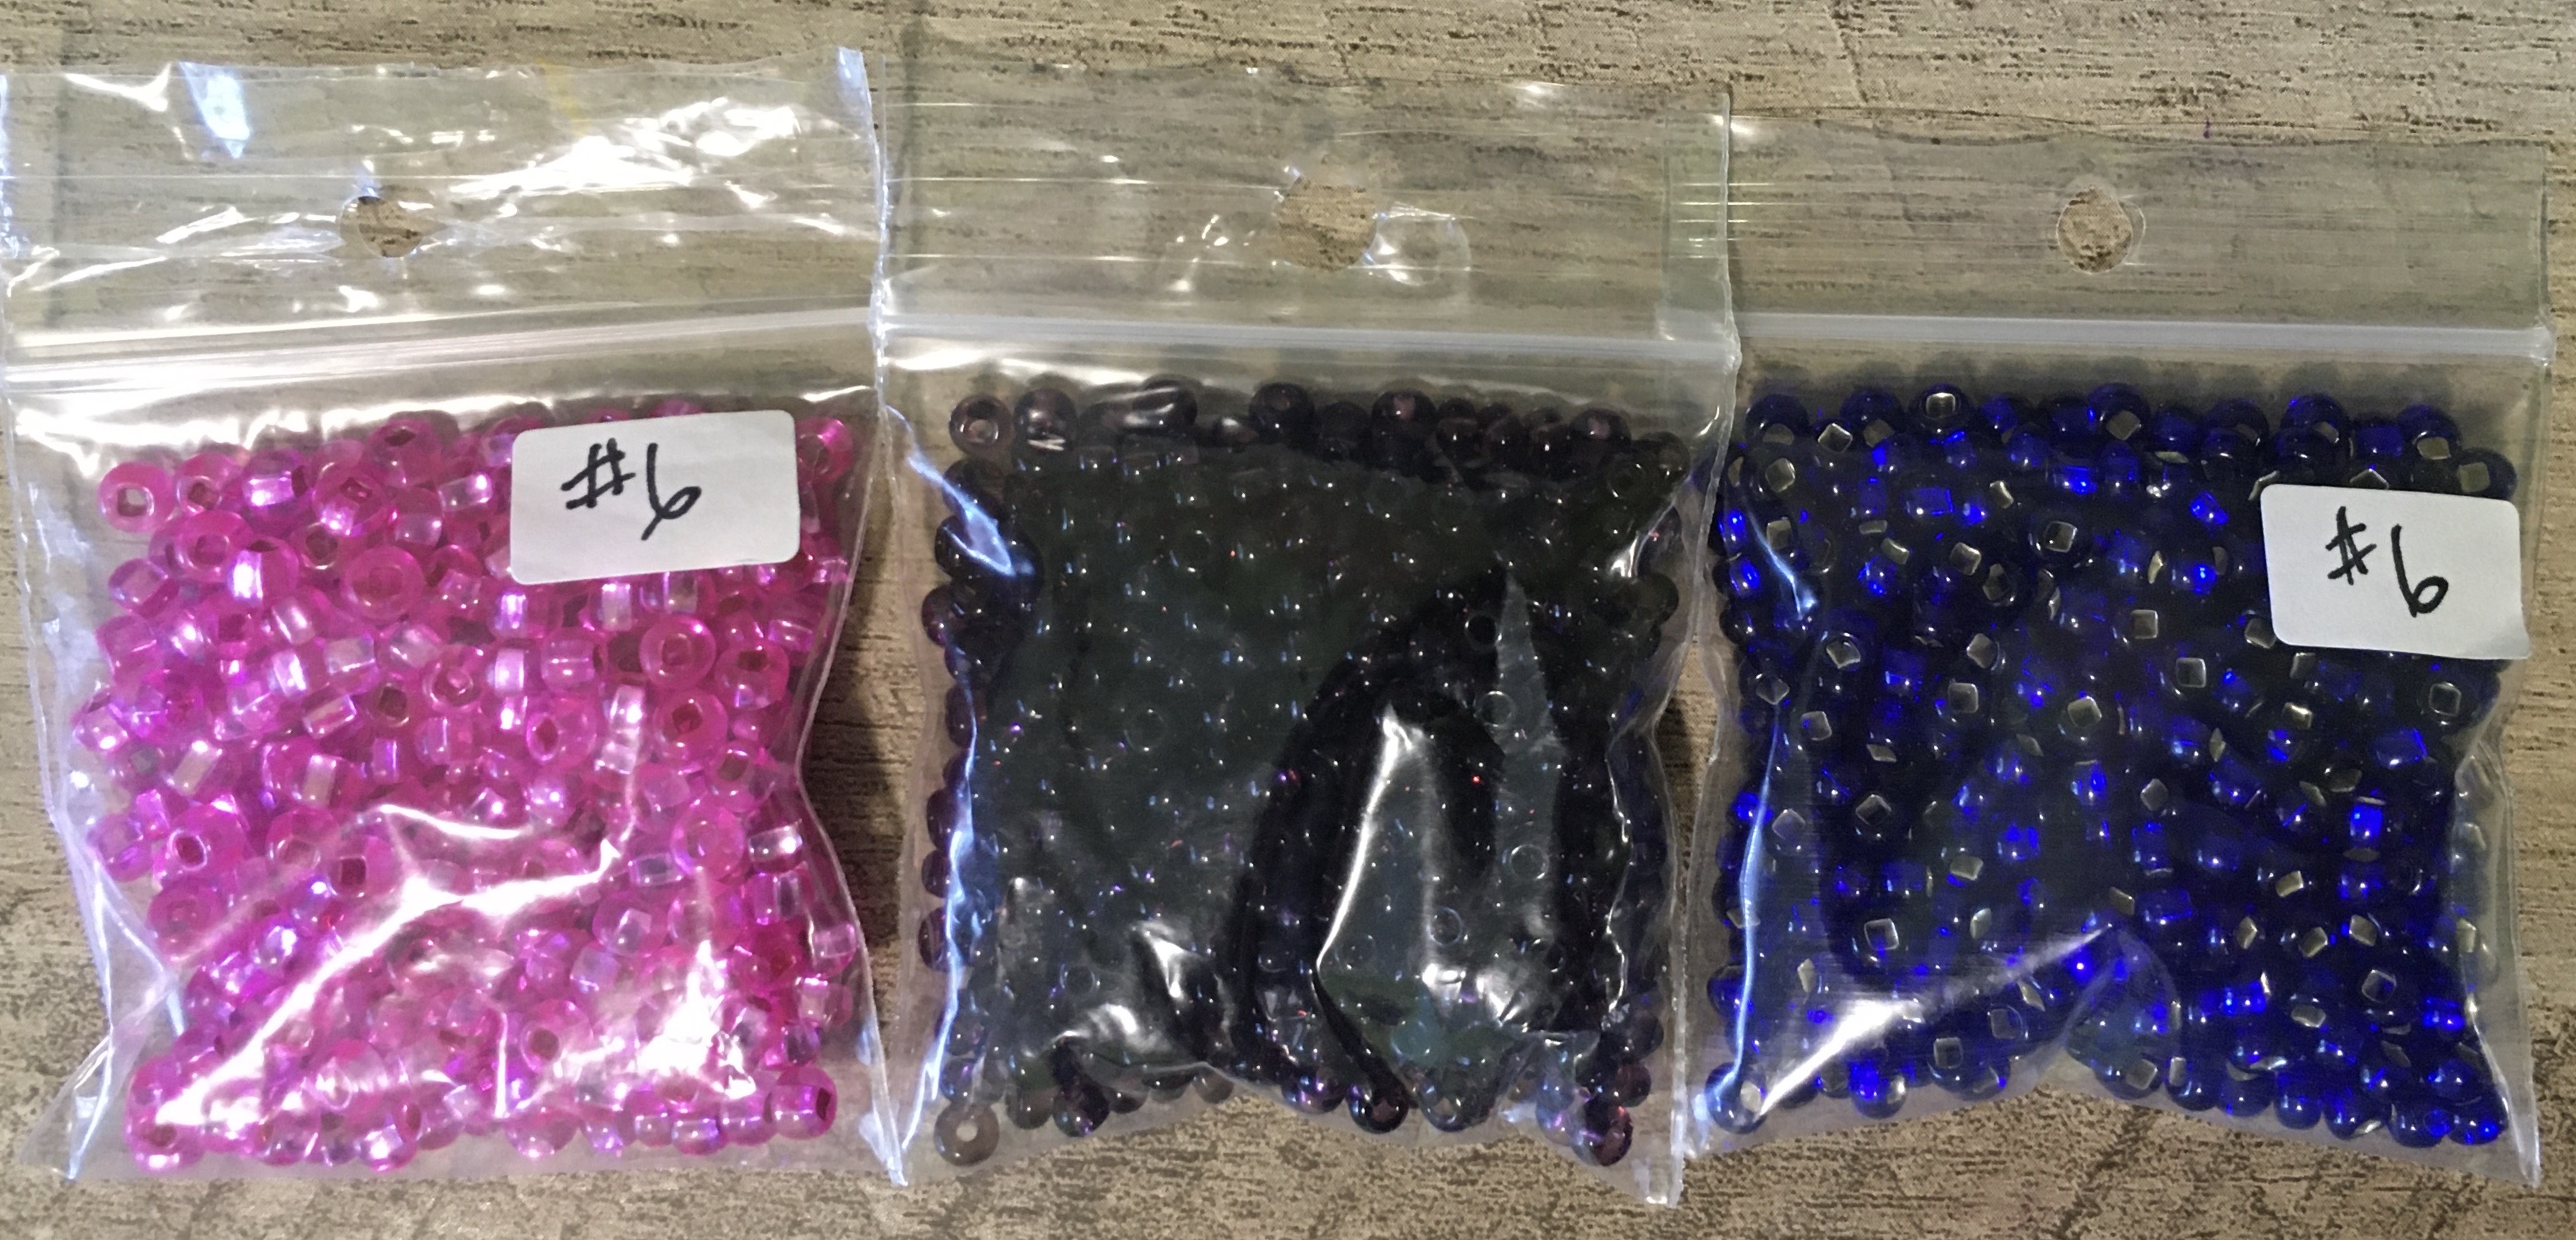
I decided to make a bisexual pin... here is the flag for reference:

Alright so once you have your flag (or colour scheme) here's what you're going to do:
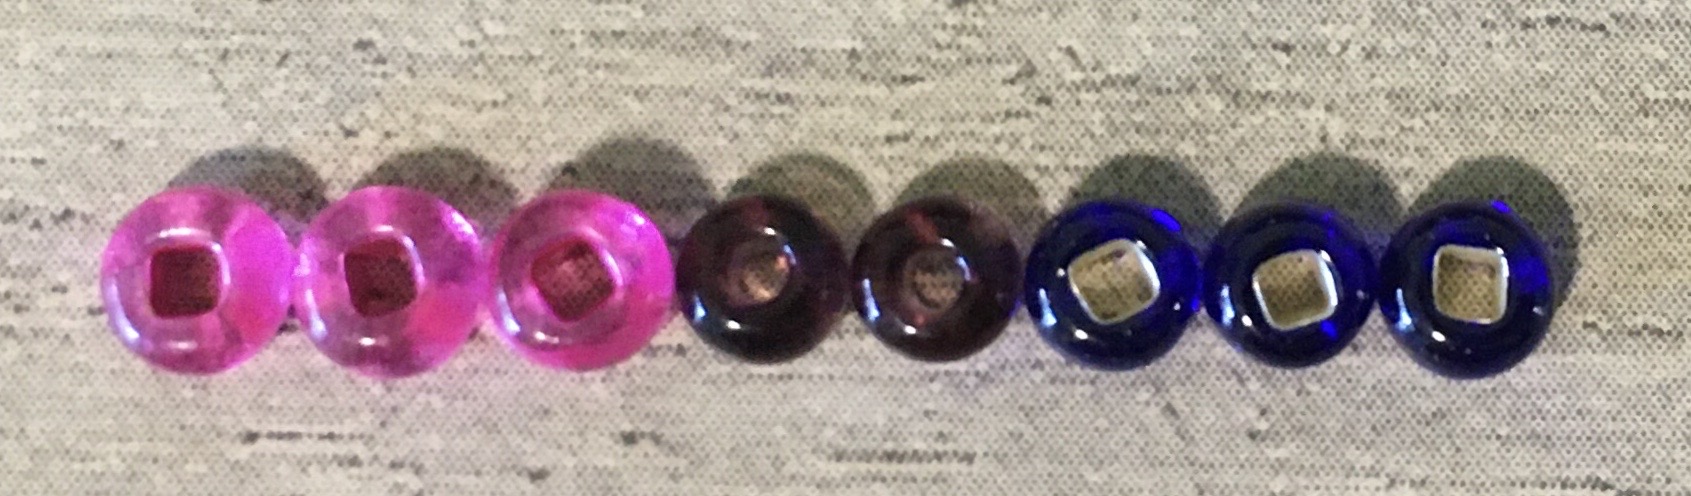
- Get beads of the correct colour ...or, you know, at least close enough
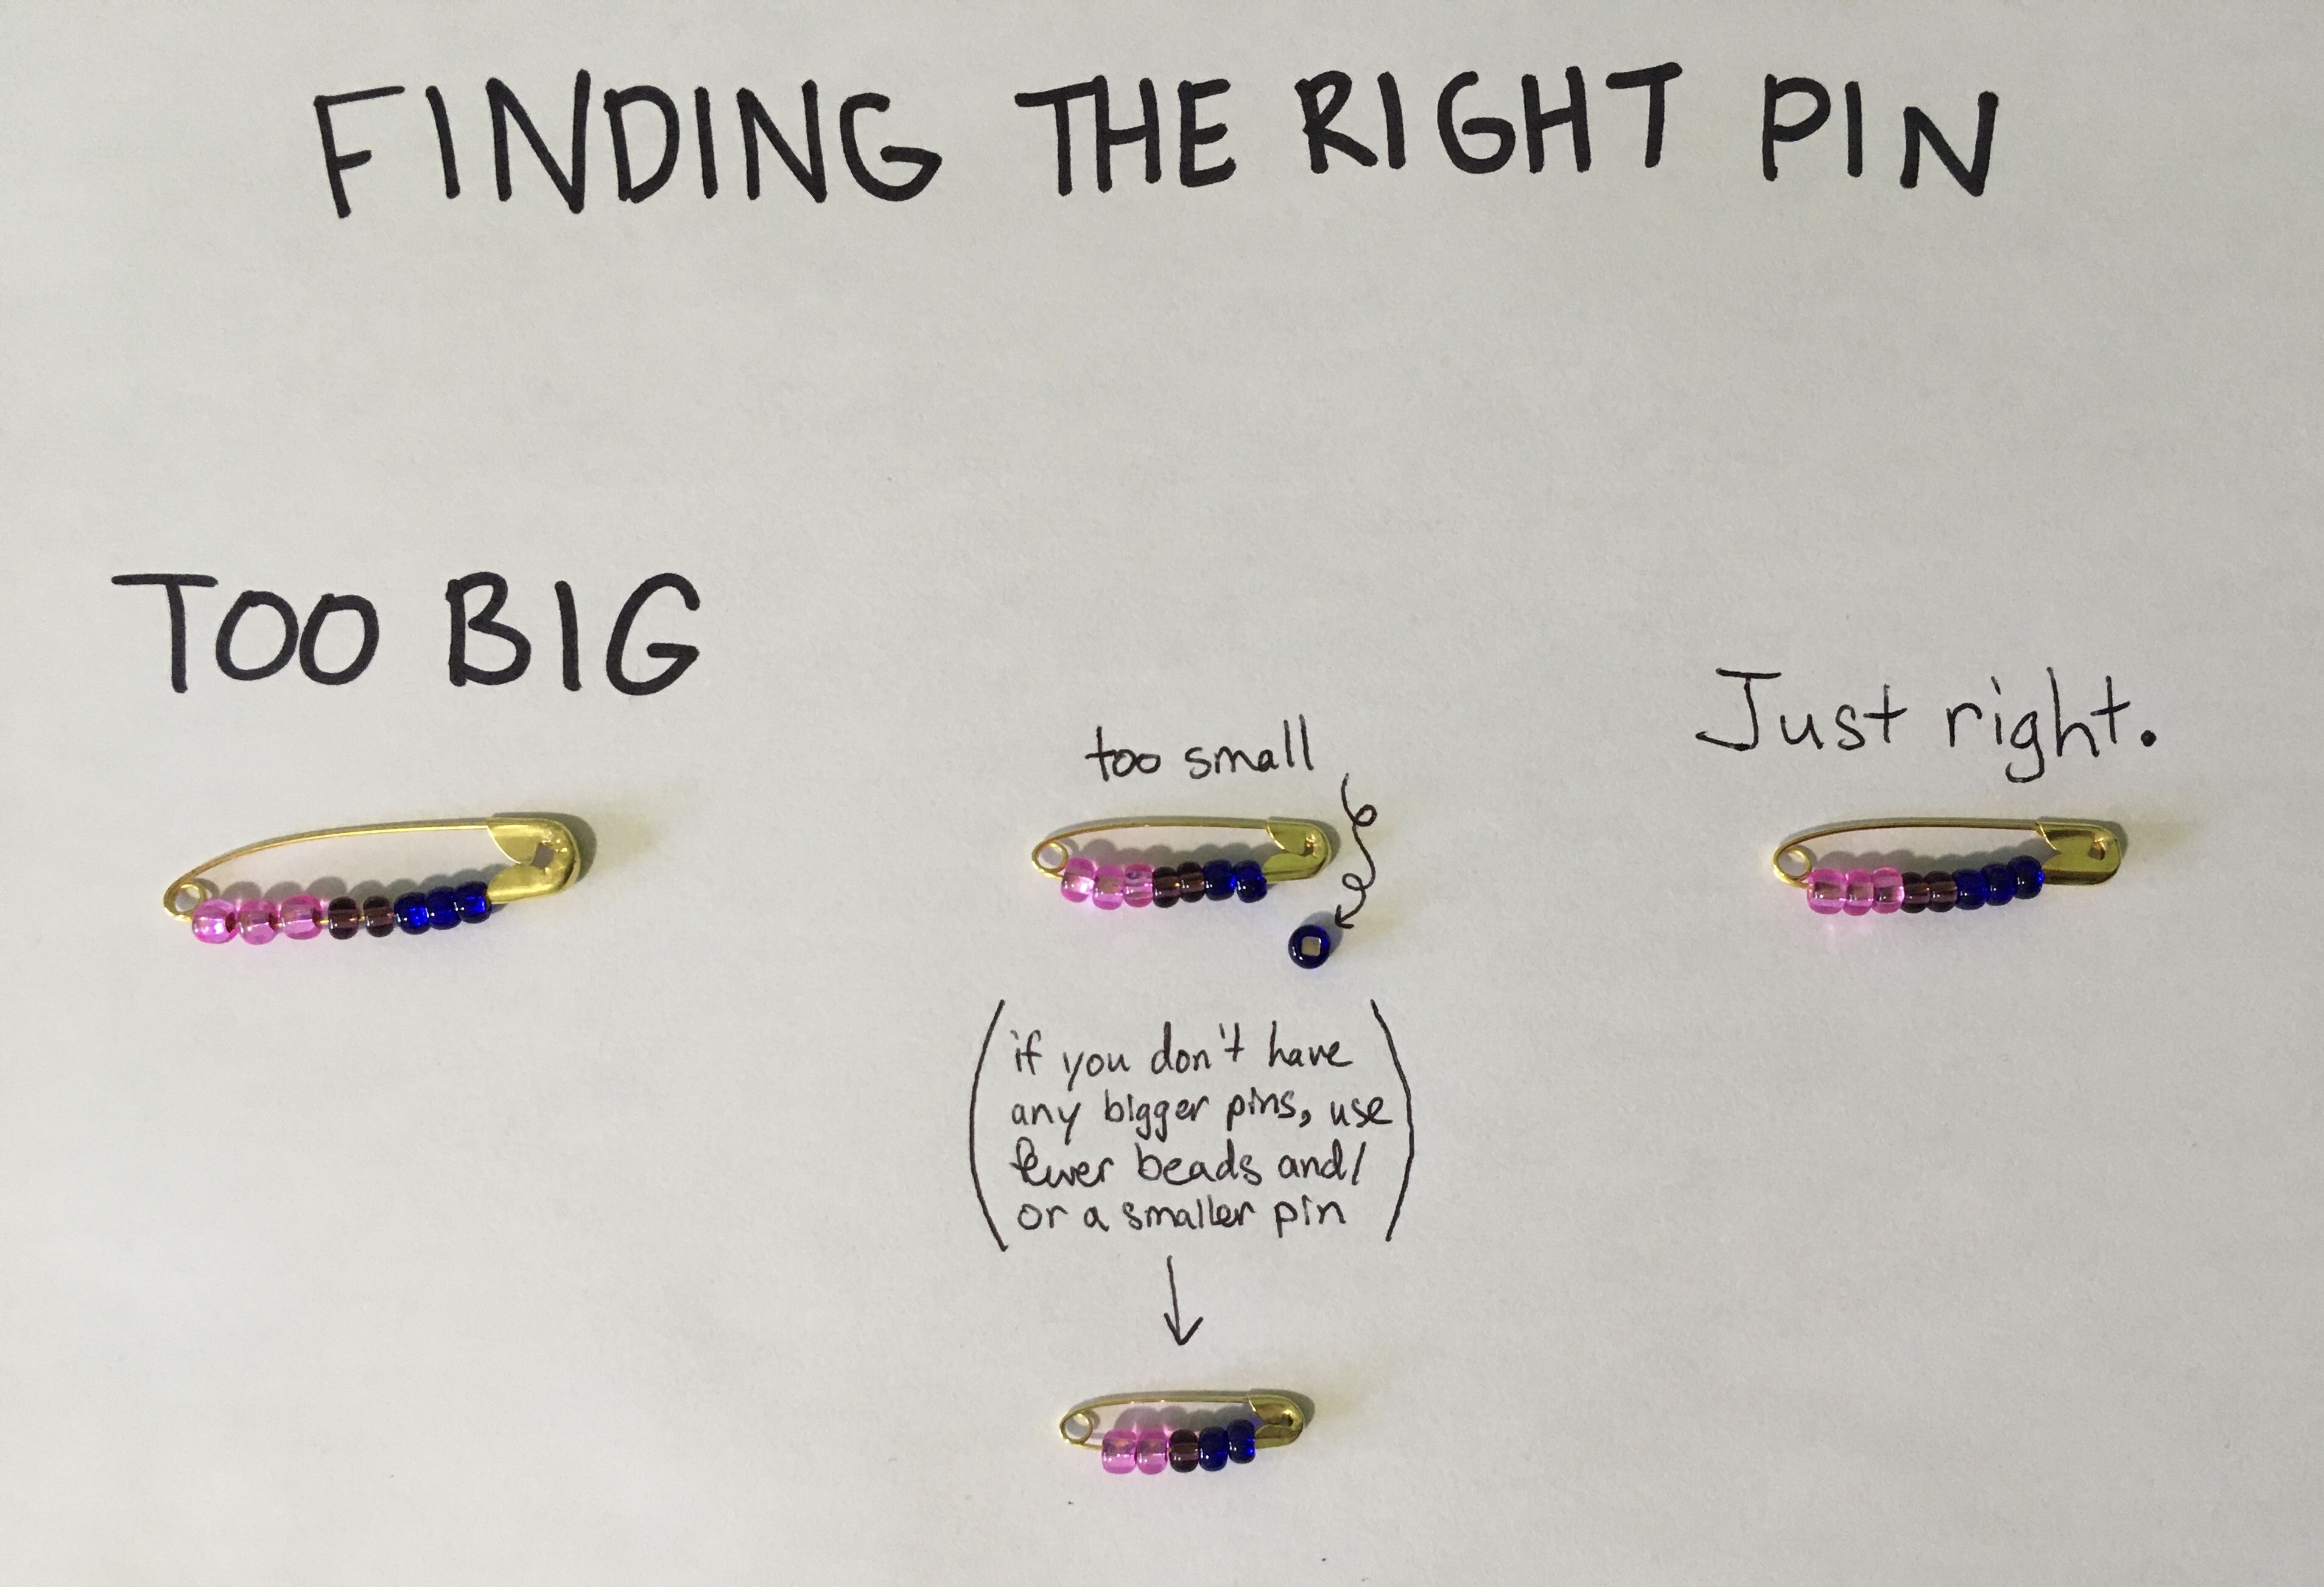
- Line them up in the order that you want. If the flag has a lot of stripes you'll probably only need 1 bead per stripe, but if it has only a few stripes, you'll probably need more beads per stripe (or a really tiny pin).
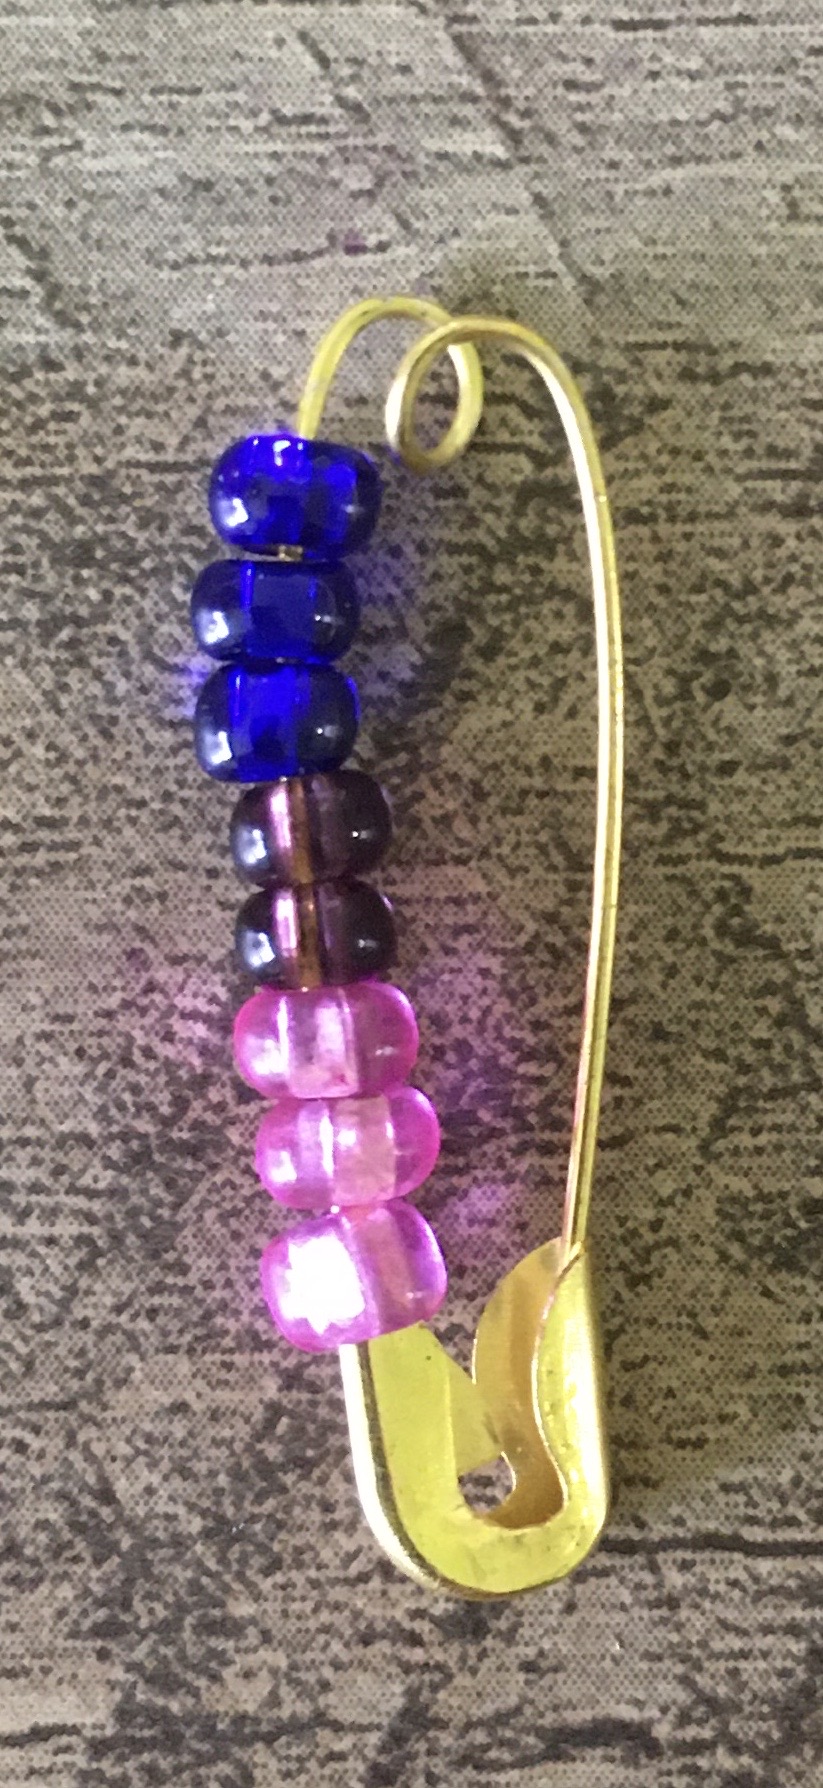
- Put them on the safety pin to make sure that they fit in the space allowed by the pin's size. I like to make sure that there aren't too few either- that all the space availiable is filled with bright colours and there aren't any weird gaps.
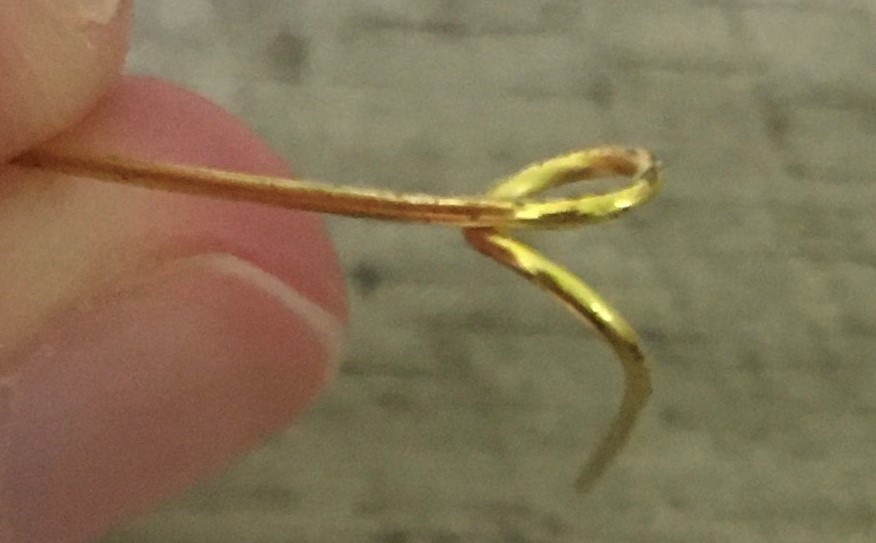
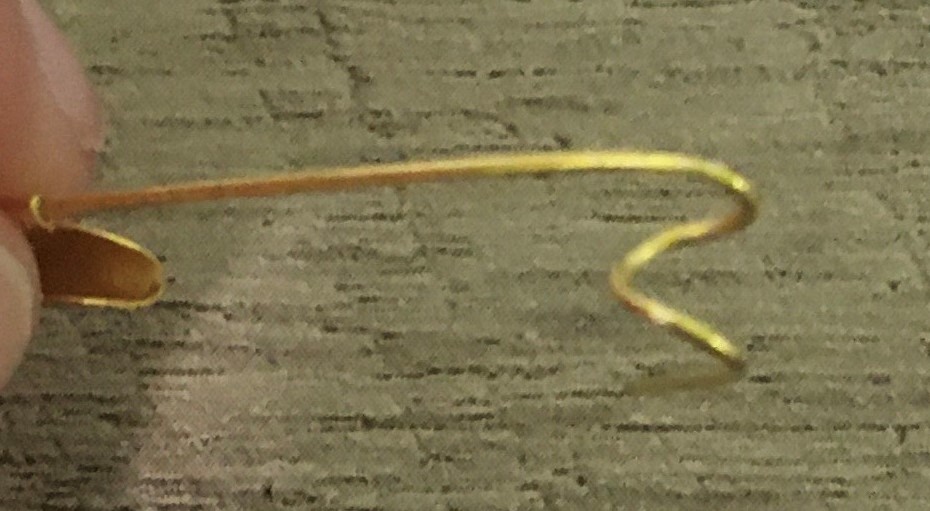
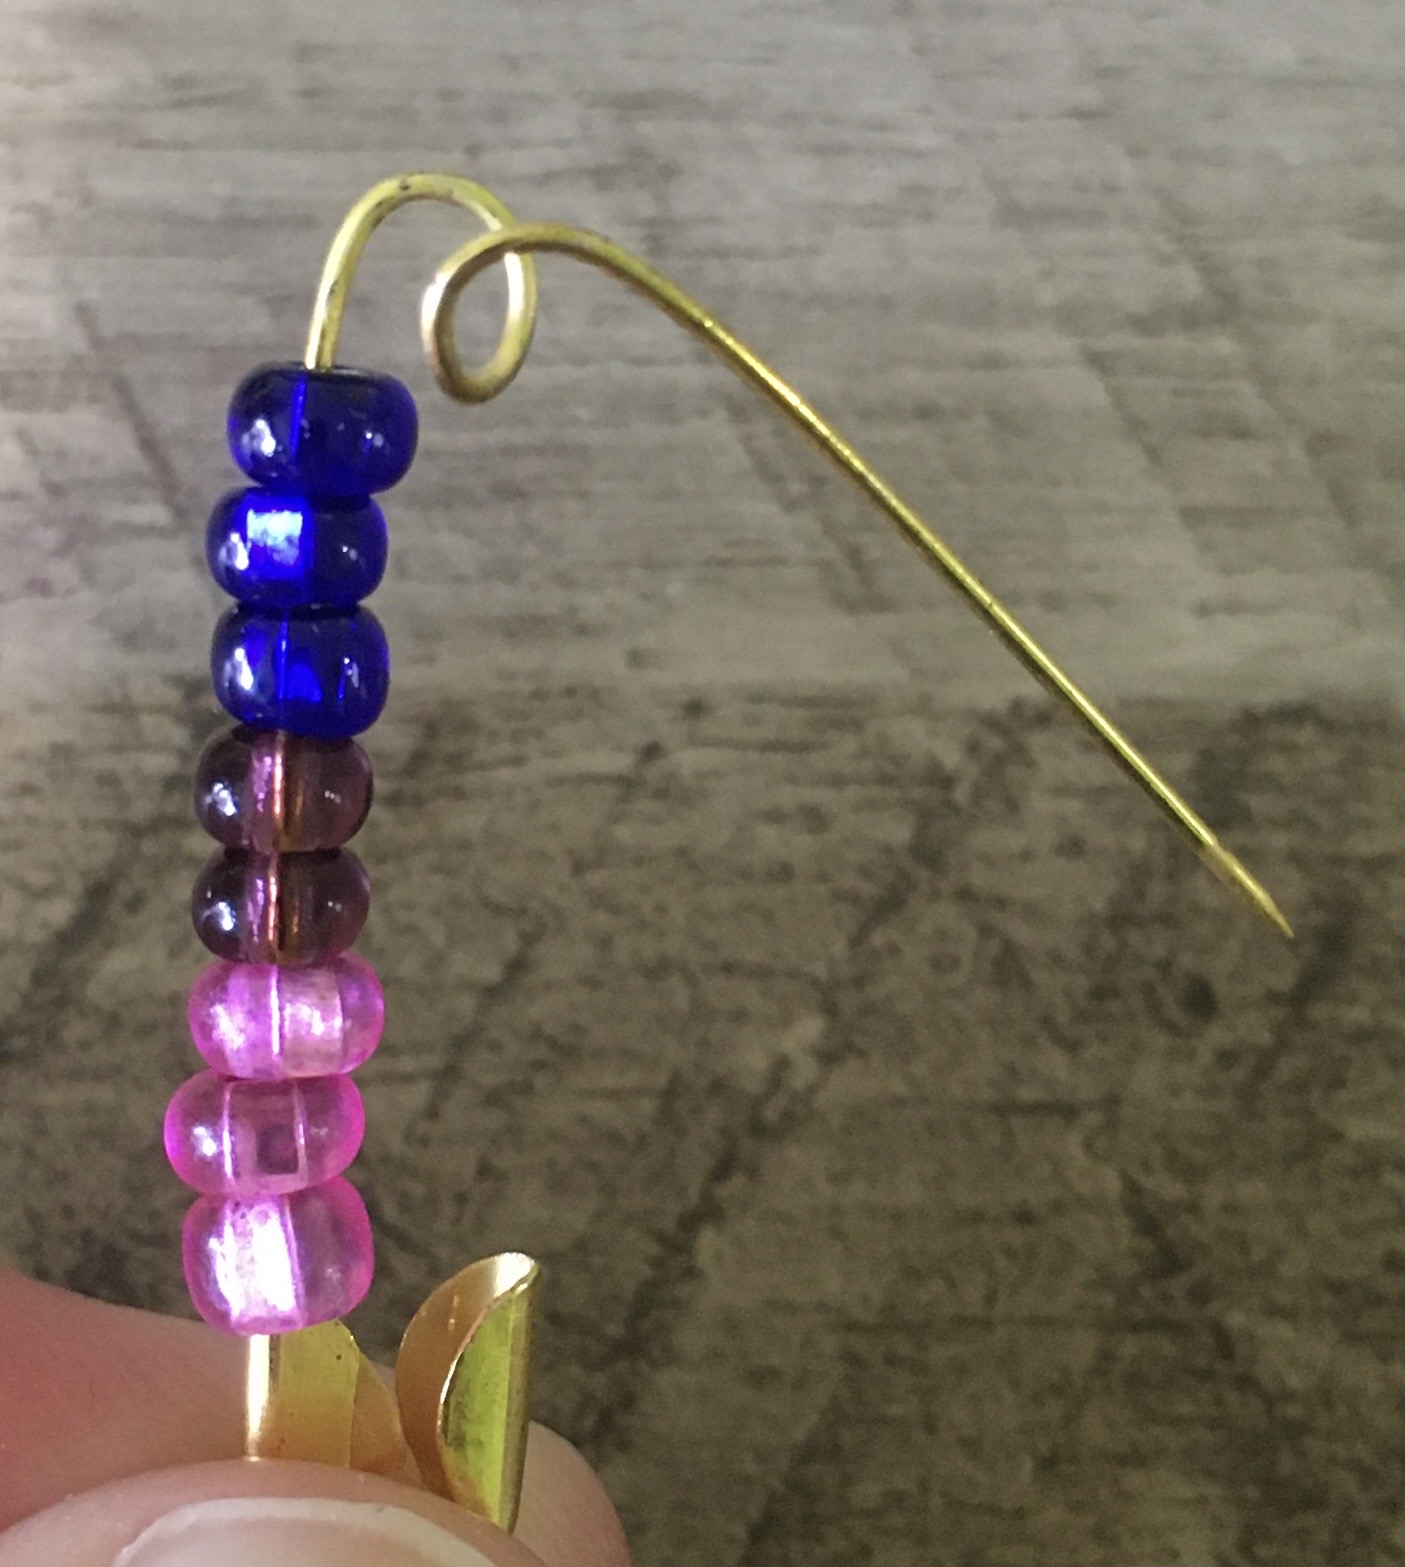
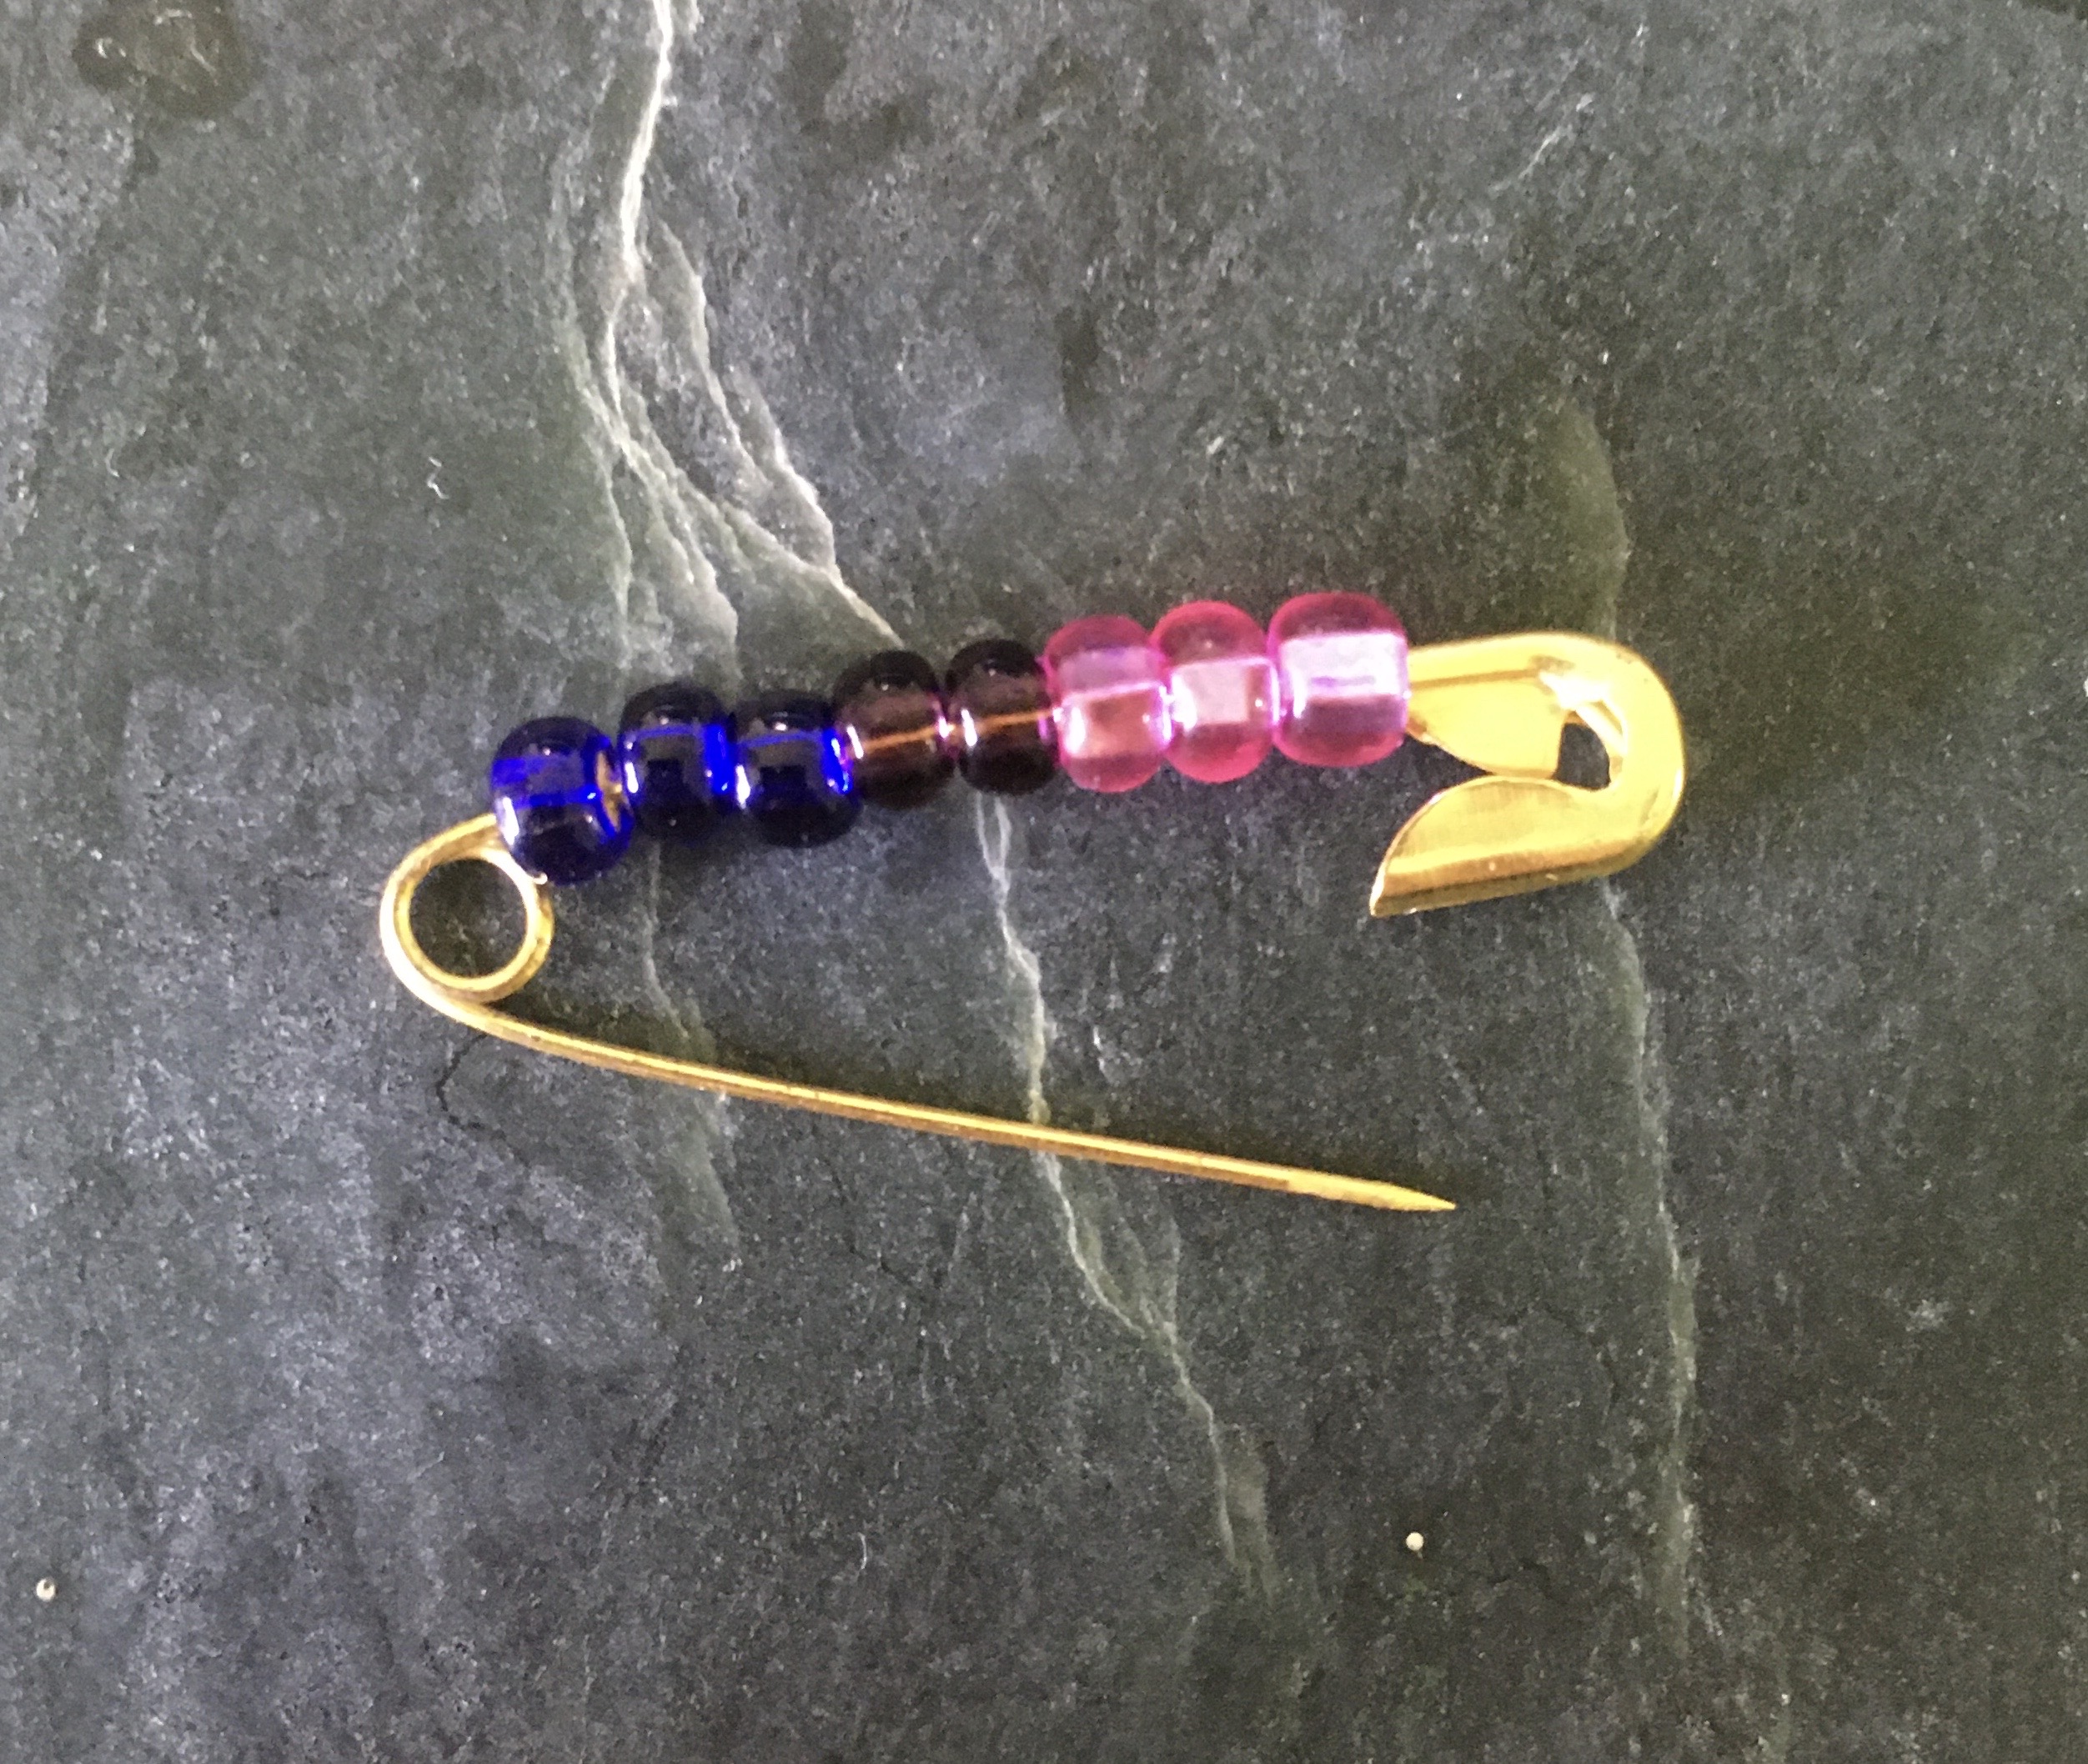
- Open up the loop at the end of your safety pin. It helps to use 2 small pliars for this, although you can make it work with only 1. Reference the image for the best spots and angles to use the pliars. Also, it's a 2-step process because you have to open up one loop and then the next.

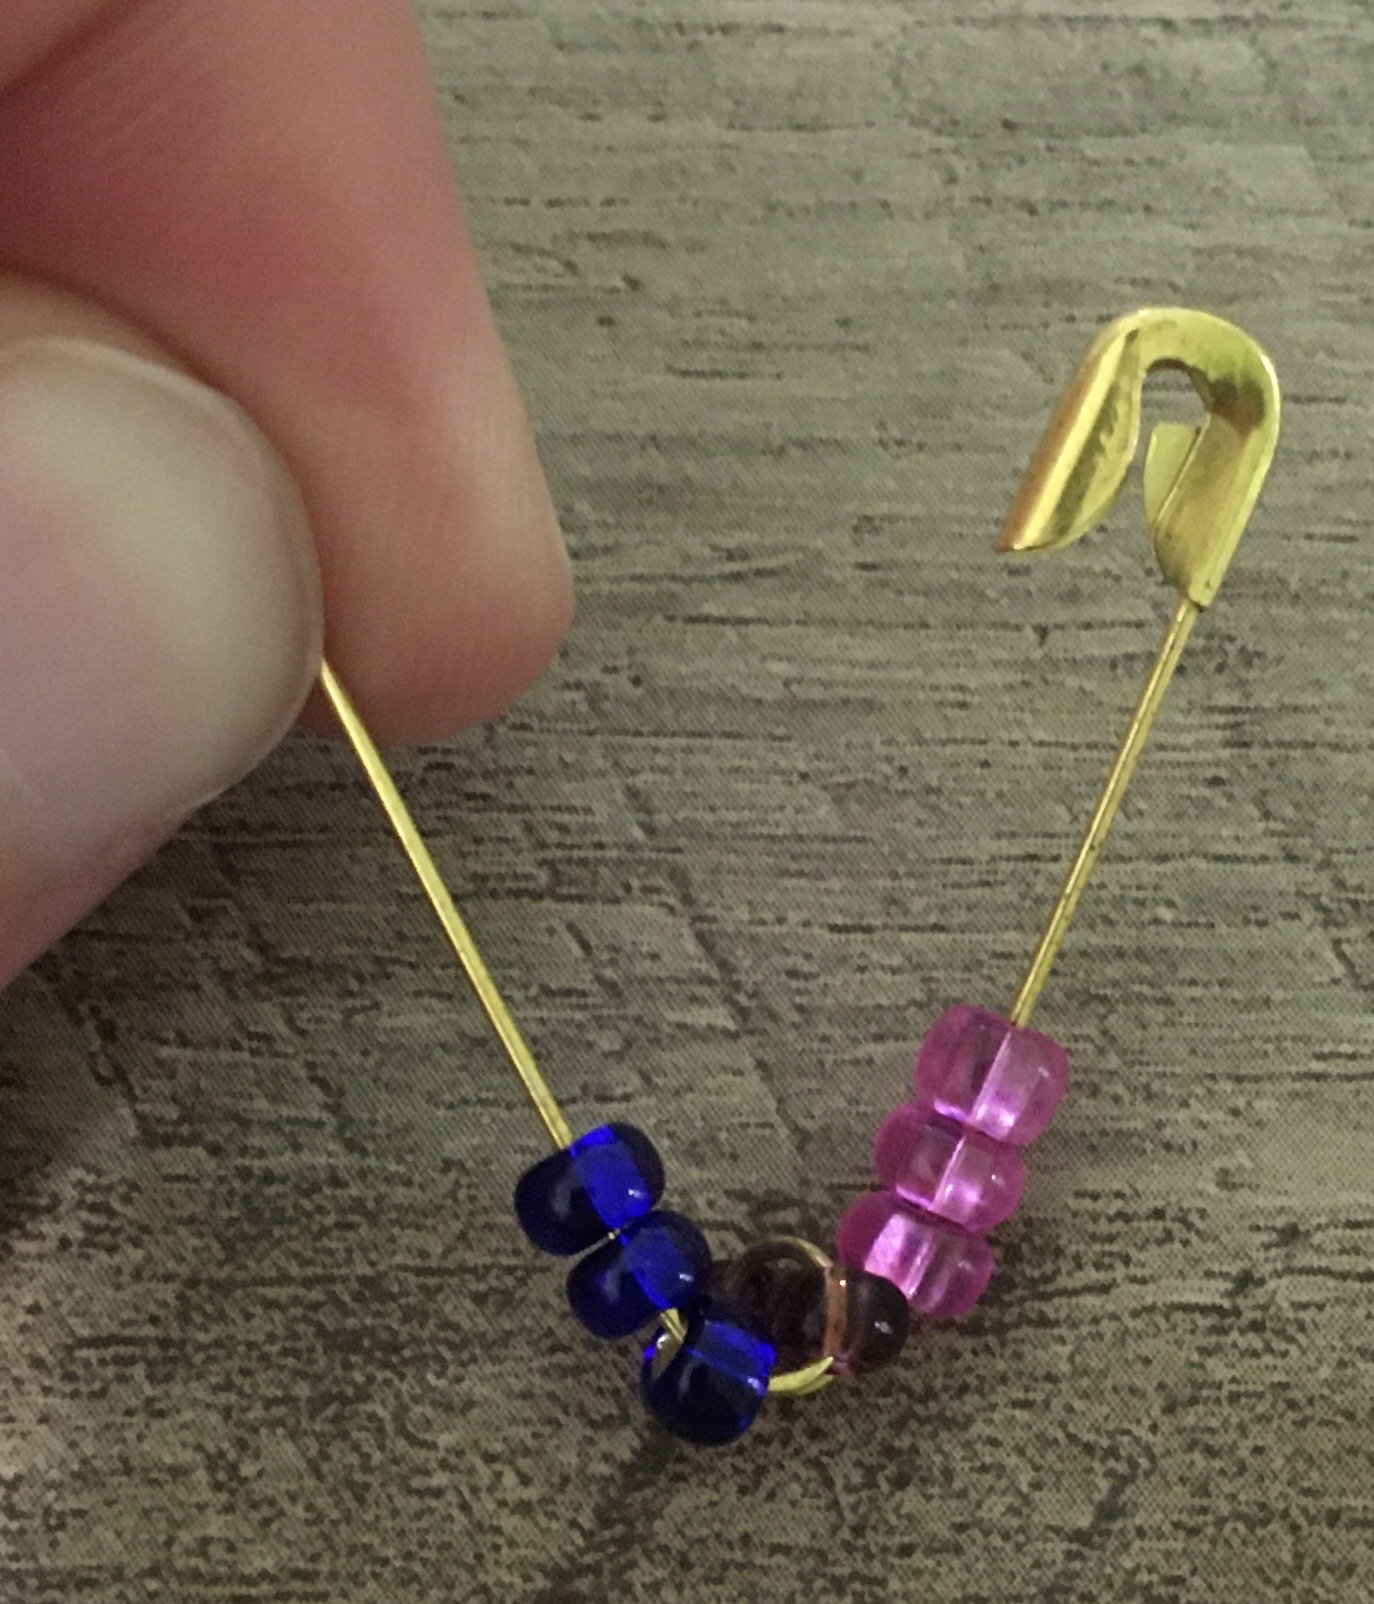
- Thread your beads onto the safety pin and past the loops. Sometimes you'll have to fiddle with the loops to get the beads through.
- I find that these optional steps make it easier to have a neat closure:
- If you can, close the safety pin. I find that this helps you crimp the pin at the right angle.
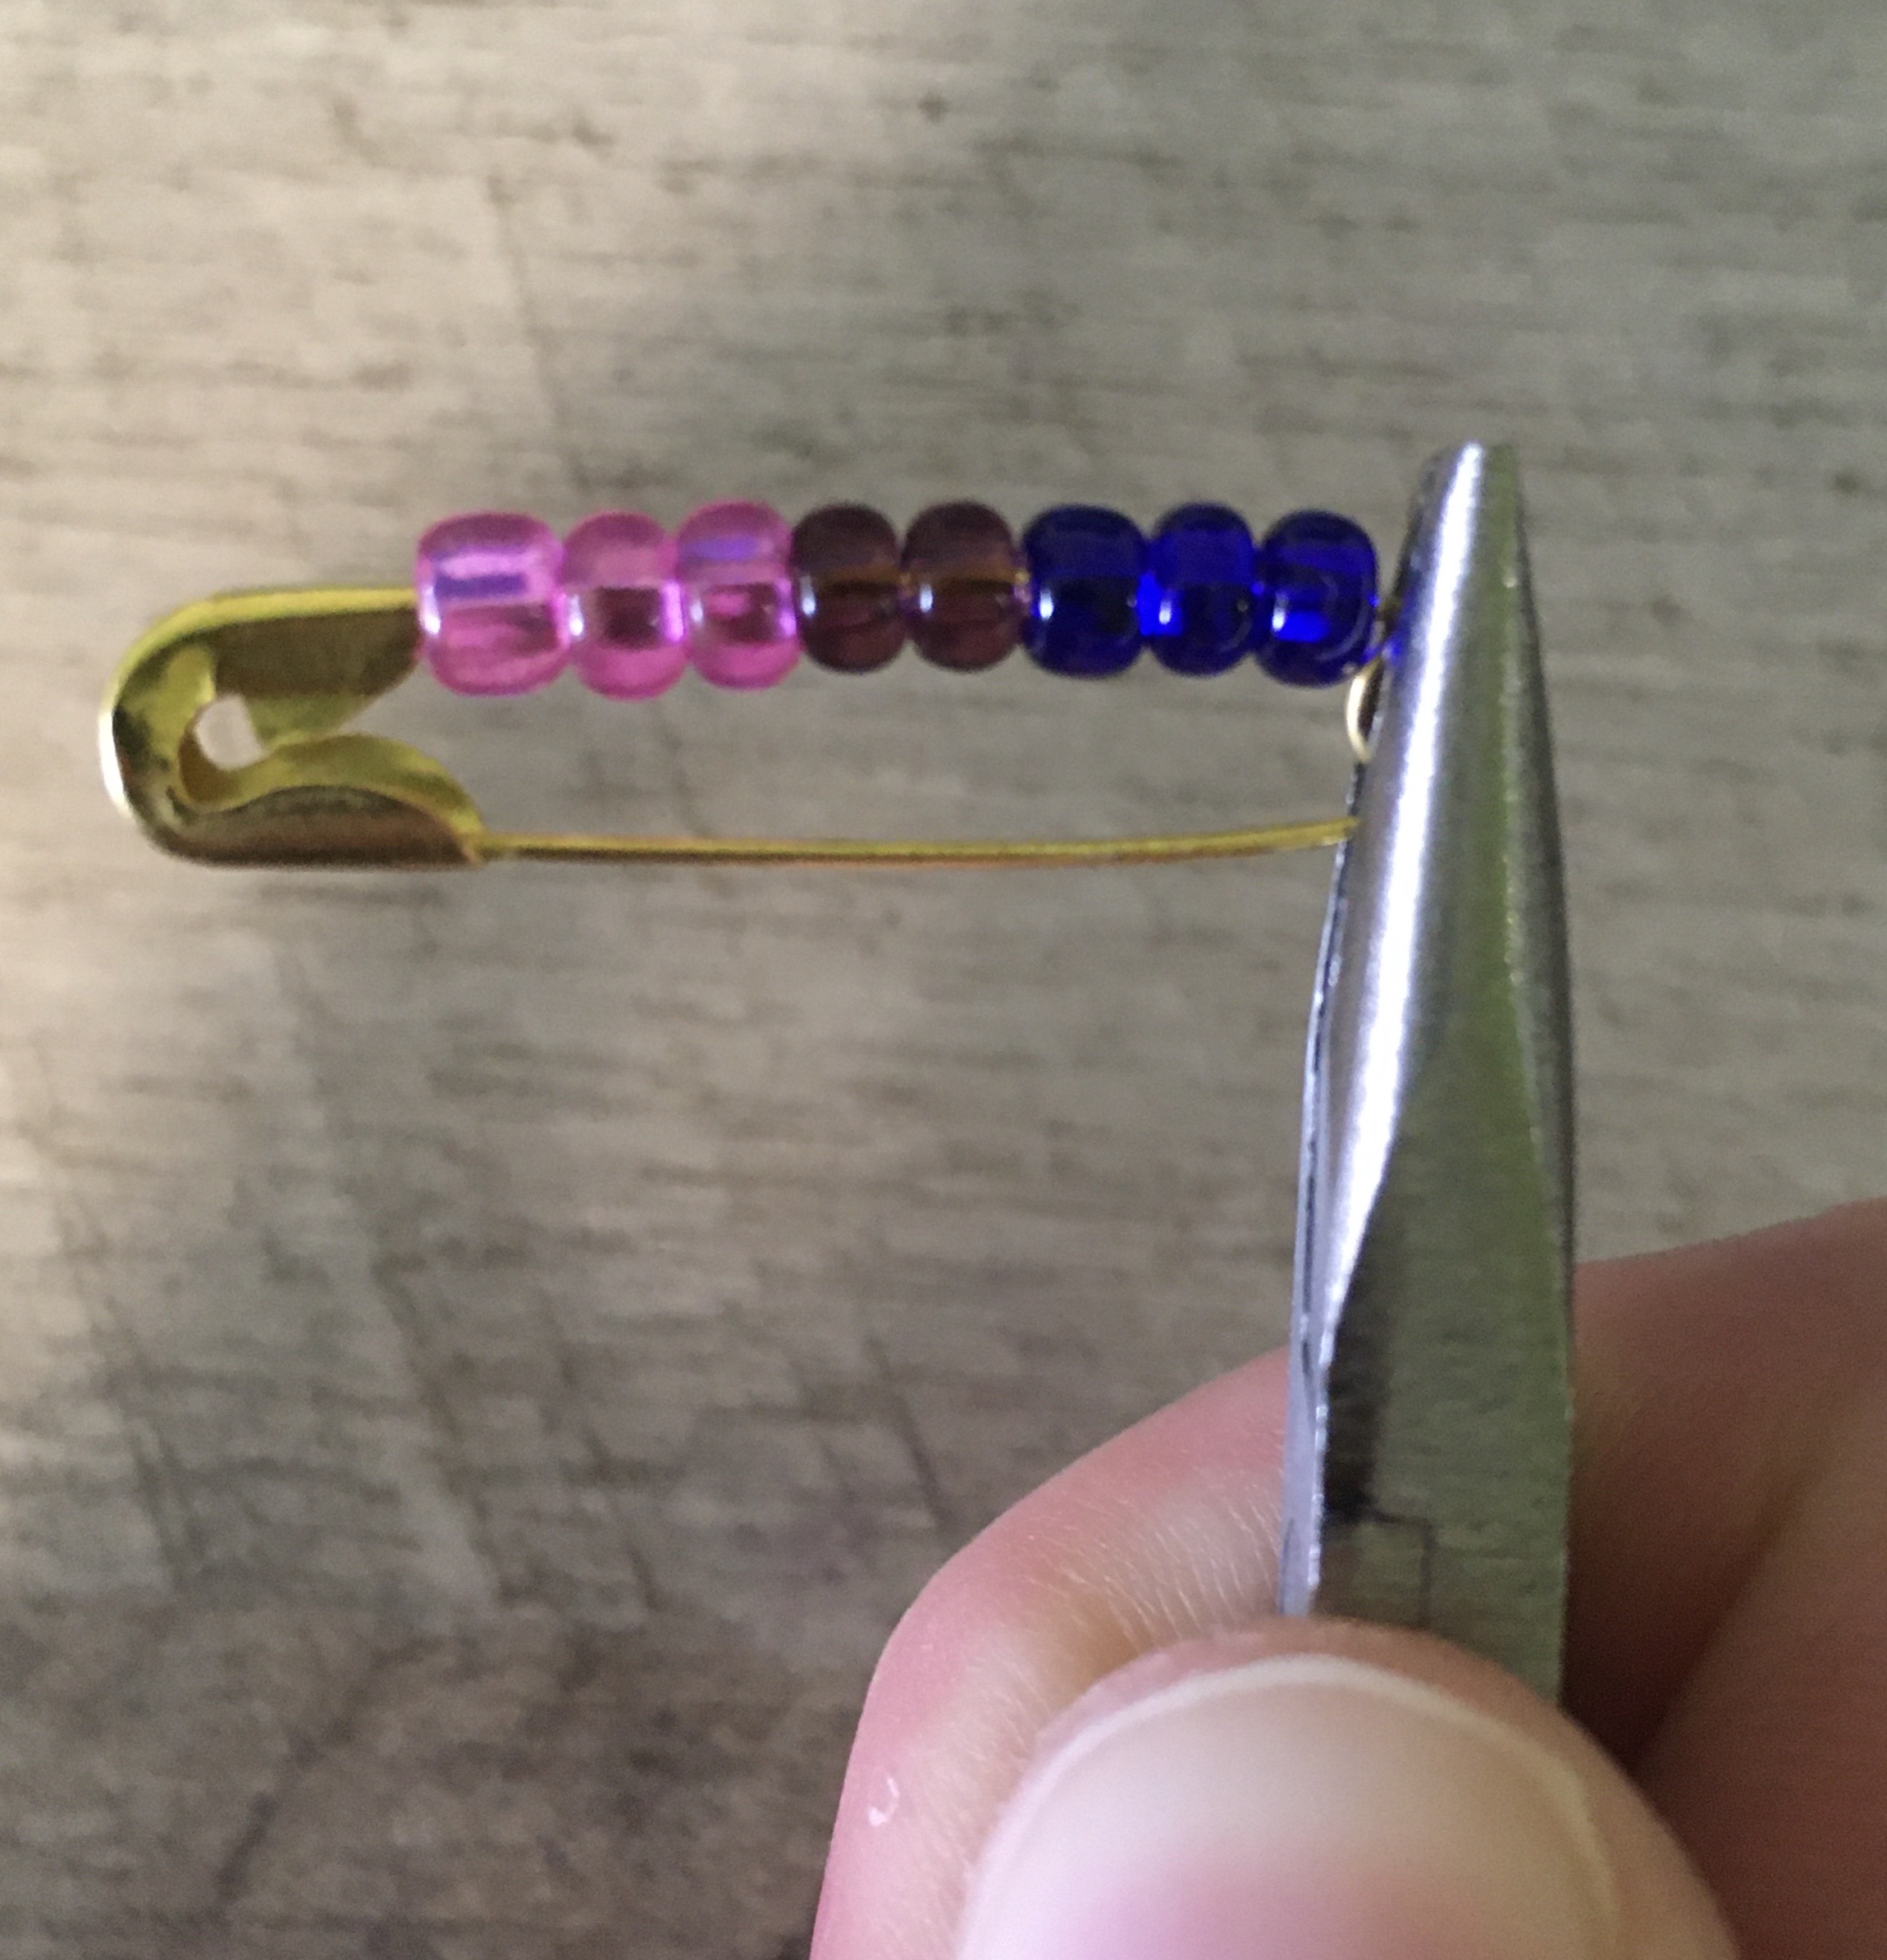
- Push the loops as far as they'll go onto the round nosed pliars (on both sides as well). I find that this helps make the loops the same even size again.
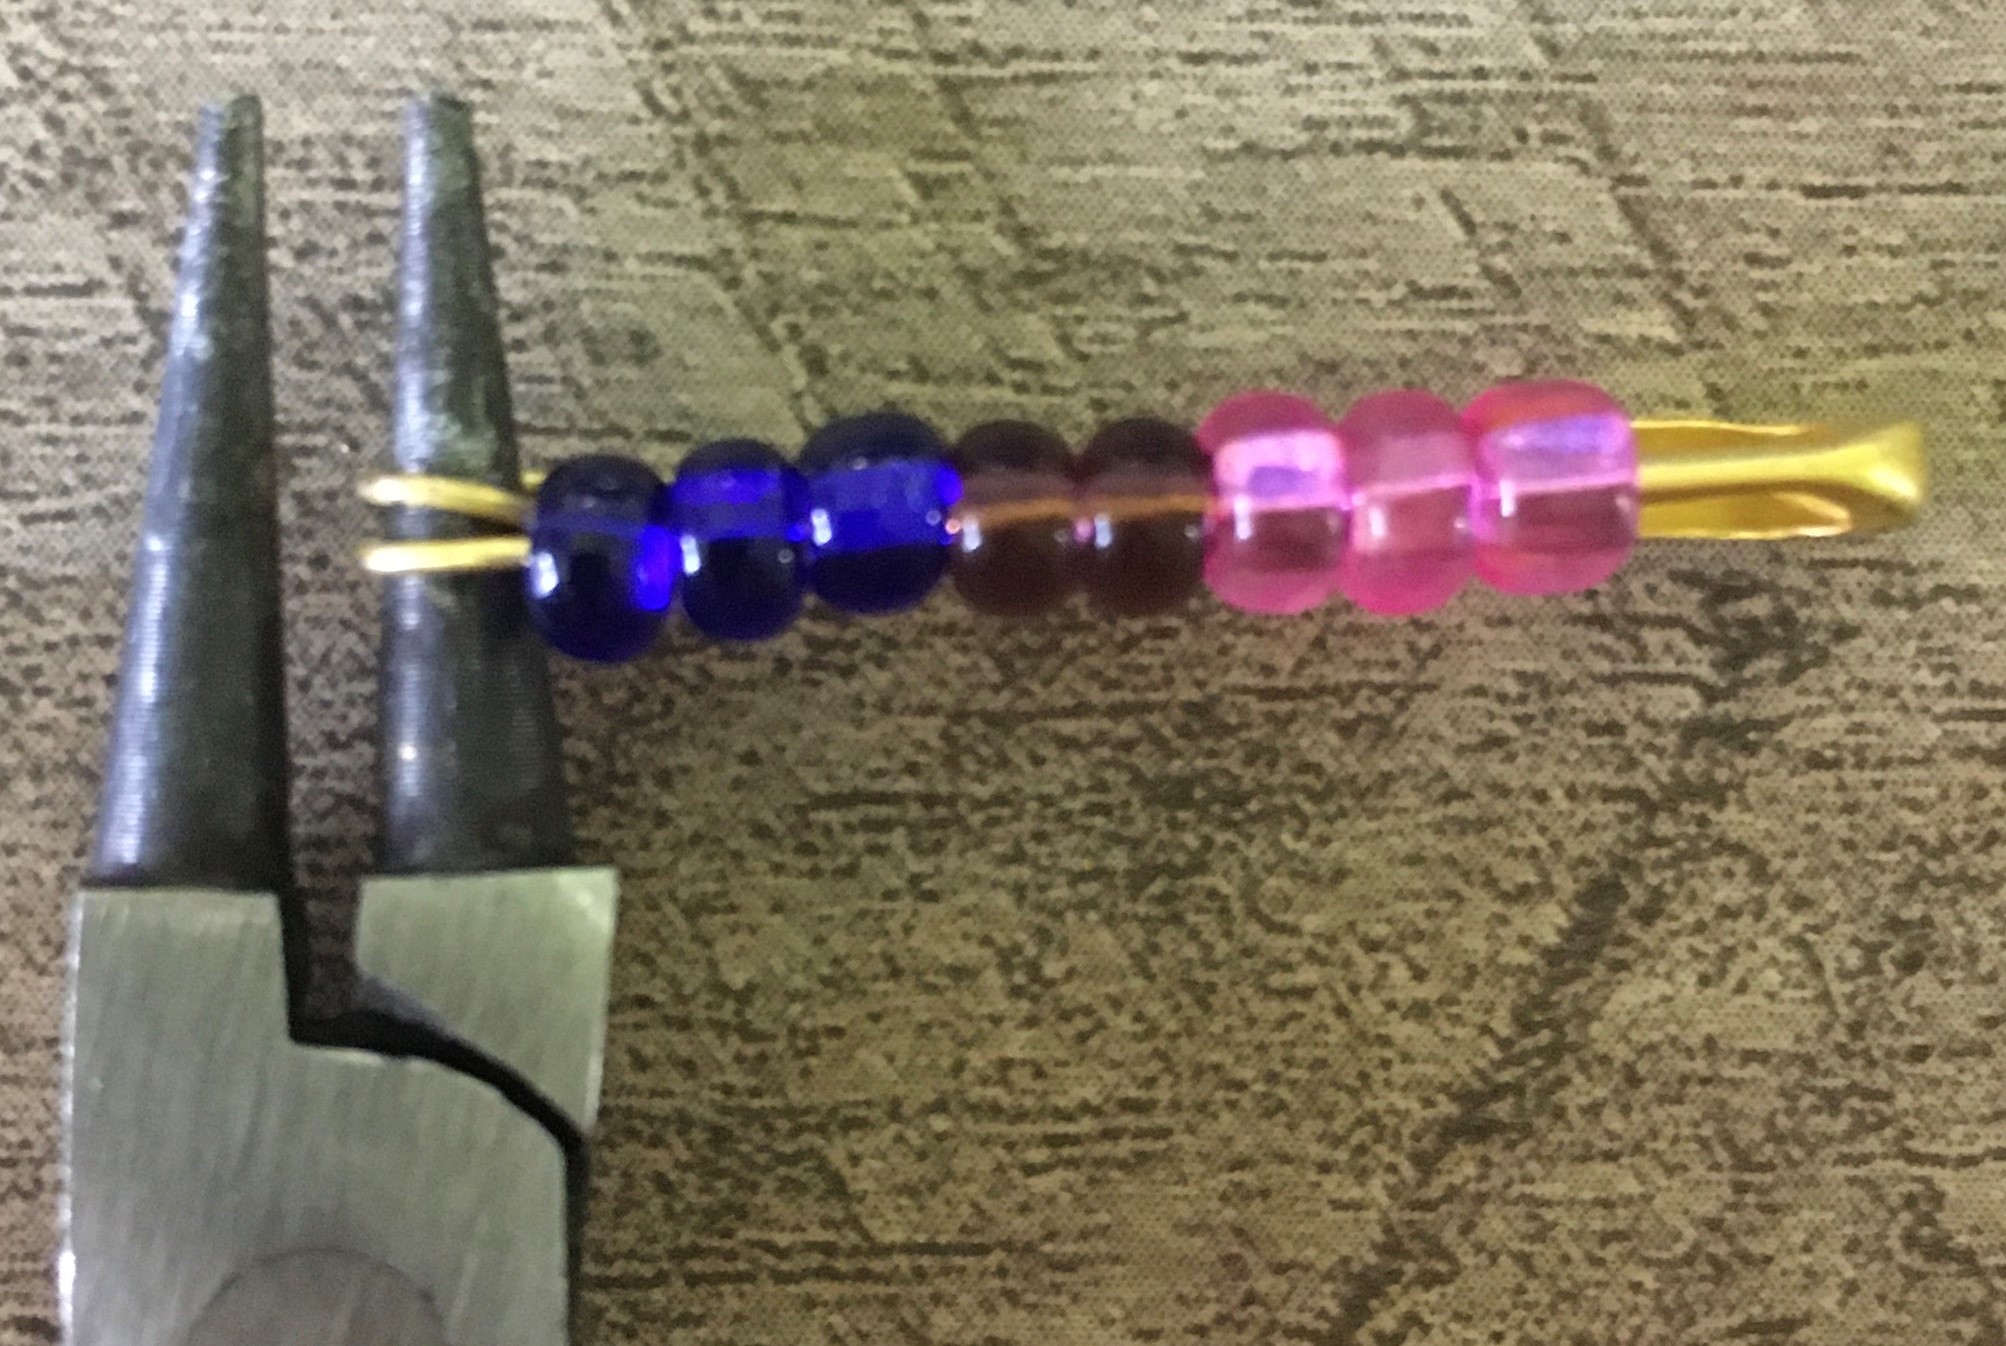
- Use the square nosed pliars to flatten the loops and seal them so that the beads stay on one side.
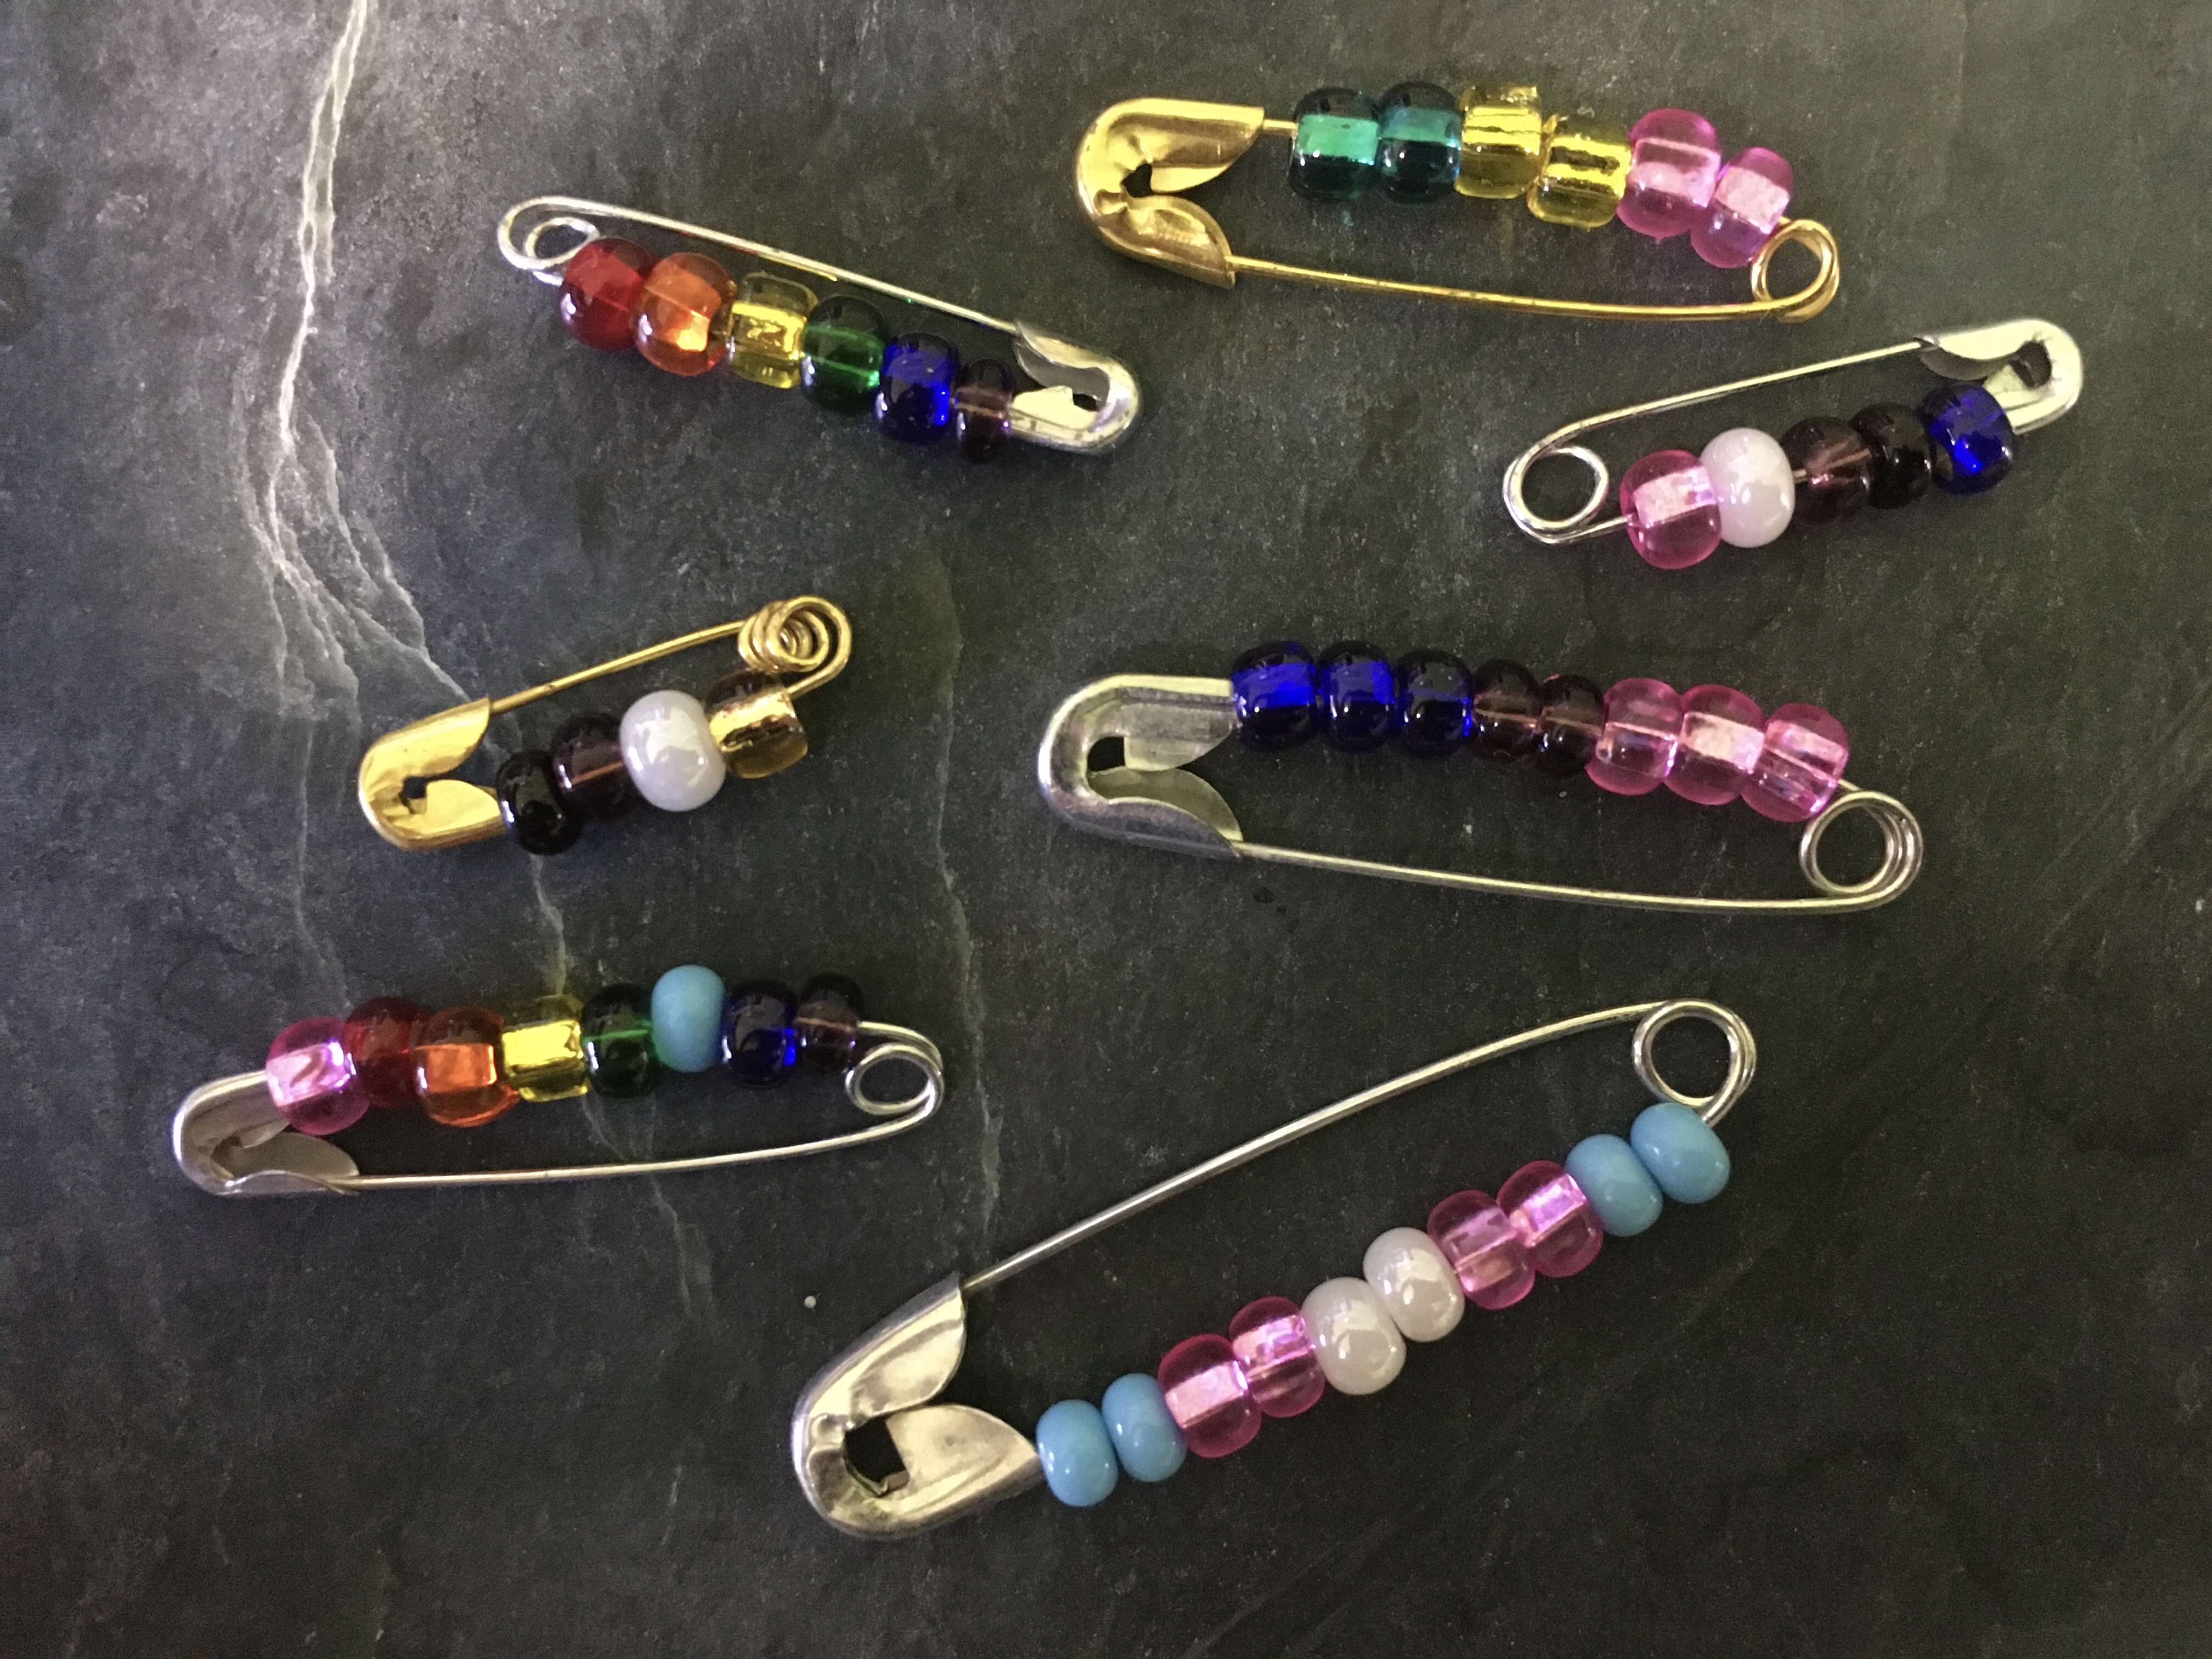
aaand you're done! Woo! Don't worry if it isn't super neat on your first attempt. It took me a couple tries to get it to work for me and look good.
Return to tutorials?
Go Home?